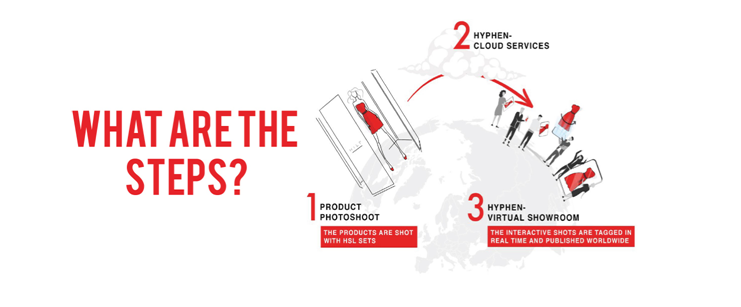
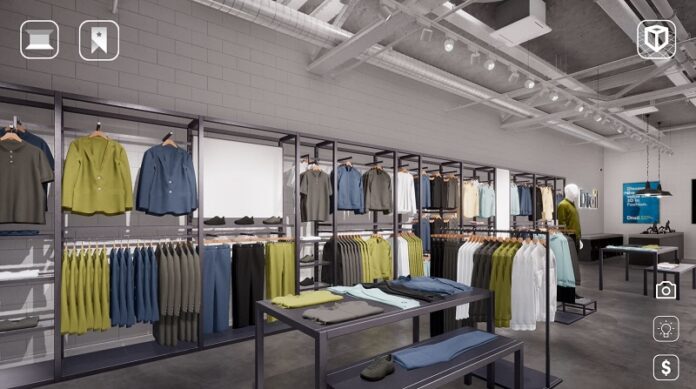
Illustrating the company’s portfolio in virtual reality gives the audience the ability to discover and engage with the company’s inclusive product range in a virtual space of your choosing. Clients can intuitively browse offering and explore and analyze the variations, gestalt, and technical details available for each product. The virtual showroom gives customers a perfect experience and helps them to start thinking creatively about what your products can do for them. They can also experiment with colour and configuration on products.
Many platforms help correctly manage the digital version, and choosing that right platform is very important. Some softwares are Lapentor, OpenSpace3D, Marzipano, Makevt etc.
Steps to create a virtual showroom for your business

1. Right equipment and software is a must
To start with an excellent virtual tour, one must have the right equipment and sources. Many of the users avoid this because they are unable to arrange them. For this, all you need is a panoramic or 360-degree camera, which is more affordable and user-friendly than ever. Agents should be equipped with this so that they can use it daily. Choose the best virtual tour software provider and check if they offer their cameras and lenses or discounts if you purchase a camera. Look in-depth and compare prices, resolution depth, stabilizer options to prevent blurry photos, features, battery life, and remote operation.
2. List your shots
Try to list all the rooms and shots you want to make a part of your virtual space. Walkthrough each room, list and find the centre; make sure that your camera can capture and highlight each room’s features from that vantage point. If the centre doesn’t work, try to find the end, which is reachable and accessible. Try to make up for most detail and mark the spot with a piece of tape. Create your shot list by writing down each room’s name or filling in a preprinted shot list template.
3. Prepare Each Room
Now that we have marked all the points and listed them, it’s time to make sure the room looks as perfect as possible. Remove all the extra things and try to make it systemized as possible. Ensure that the camera will have a clear view of the entire room. If something is distracting or seems messy, then take it out of the room—the clearer the picture, the better the final result. The room should be well lighted and should have adequate sources of light coming in. It could specify E-commerce development.
4. Tripod leveling

Your tripod should be levelled up to make sure all the images captured from different angles are uniform. This applies to any image, video, 360-degree, or panoramic photo you might take. Don’t try to make 360-degree images without a levelled place where you can put your camera—otherwise, the lines and angles in your shots won’t be straight and accurate. You should download a levelling tool on your smartphone to ensure proper handling and capturing of images. Level the tripod by adjusting the legs until the bubble is centred between the lines.
5. Trials before finals
You should test every image, whether it is satisfactory or not. Take a test shot in the room and study it. Highlight the features you want buyers to see and explore. Also, if the photos are darkened, then increase the source of lighting. If you notice something distracting in the shot, move the camera or stage the room’s items accordingly. Keep looking at the pictures to ensure there are no reflection and mirror images from behind the scene. If you see, keep changing your place.
6. Shoot the final listing
Once the trial shots are done, take the final images listed. Find the spot you marked in rooms, set up your tripod, and start taking pictures. Retake your shots if needed; try to make them clean and sorted. It’s better to have too many photos than too few.
7. Take a final tour
Once you are done with all of your images, create your virtual tour by sticking photos together using the software you chose in the first step. Upload your ideas into your software program to create your virtual tour. You can also add extra features to make it more realistic, like audio description, interactive links, aka hotspots, music, or text. Viewers must be able to enlarge, zoom, or change directions automatically with their mouse when the virtual tour is complete. It is one of the best ways for E-commerce website development.
8. Share your Virtual tour
Make it as large as possible. Your software will provide you with a link to share that with your users. You’ll also get a code that allows you to embed the tour on websites or social media accounts.


